GEAR REVIEW - BEMCO® BACKPACKER'S OVEN

Overall Rating: ∑ ∑ ∑ ∑ ∑ (out of 5) | Price Paid: $54.90* + 12.00 shipping |
Positives: opens up your menu | Purchased from: http://backpackeroven.com/ |
Negatives: added weight | |
Weight: 24.6 oz (oven only) | Bottom Line: Recommend |
* for deluxe 7inch oven kit with 6" shallow, 6" deep pans, gripper and ditty bag.
I recently had the pleasure of putting this little backpacking oven through its paces on an overnight car camp and then dayhike in Angeles National Forest. I first heard about this little oven from fellow members of the Los Angeles Backpacker's Meetup group of which I am an assistant organizer.
 |
| The oven folded up for transport. |
The ingenious little folding oven works with most existing stoves** and includes a thermometer, straps and a baking guide. The oven itself is fairly easy to setup, although I would probably make sure you can set it up and break it down at home before bringing it out into the field.Essentially its a metal box that sits atop your stove which heats up a diffuser plate resulting in a warm oven.
** certain canister stoves require a modified Brunton Can Stand in order to use the Backpacker's oven. Also it is not for use with the Jetboil PCS or any other stove that has plastic near the flame source.
 | |
| Popping its cherry with a chicken enchilada |
I first put it through its paces while camping out overnight at the base of a trailhead. I used it to make a delicious and easy to make chicken enchiladas;the recipe was included in the baking guide that comes free with all ovens.
Next I folded it up and popped it into its ditty bag, along with all the ingredients to make a personal pan pizza and set out on the trail to the bridge to nowhere with some hiking buddies. It is small enough that it fit in my daypack along with plenty of space for all the other necessities. We hiked the moderate 5 miles, navigating our way through numerous river crossings.
 |
| letting pizza dough rise |
As you can see below the results were fairly spectacular. And boy did it taste delicious. The hot steamy pizza was so welcomed on an otherwise cloudy and slightly chilly spring day.
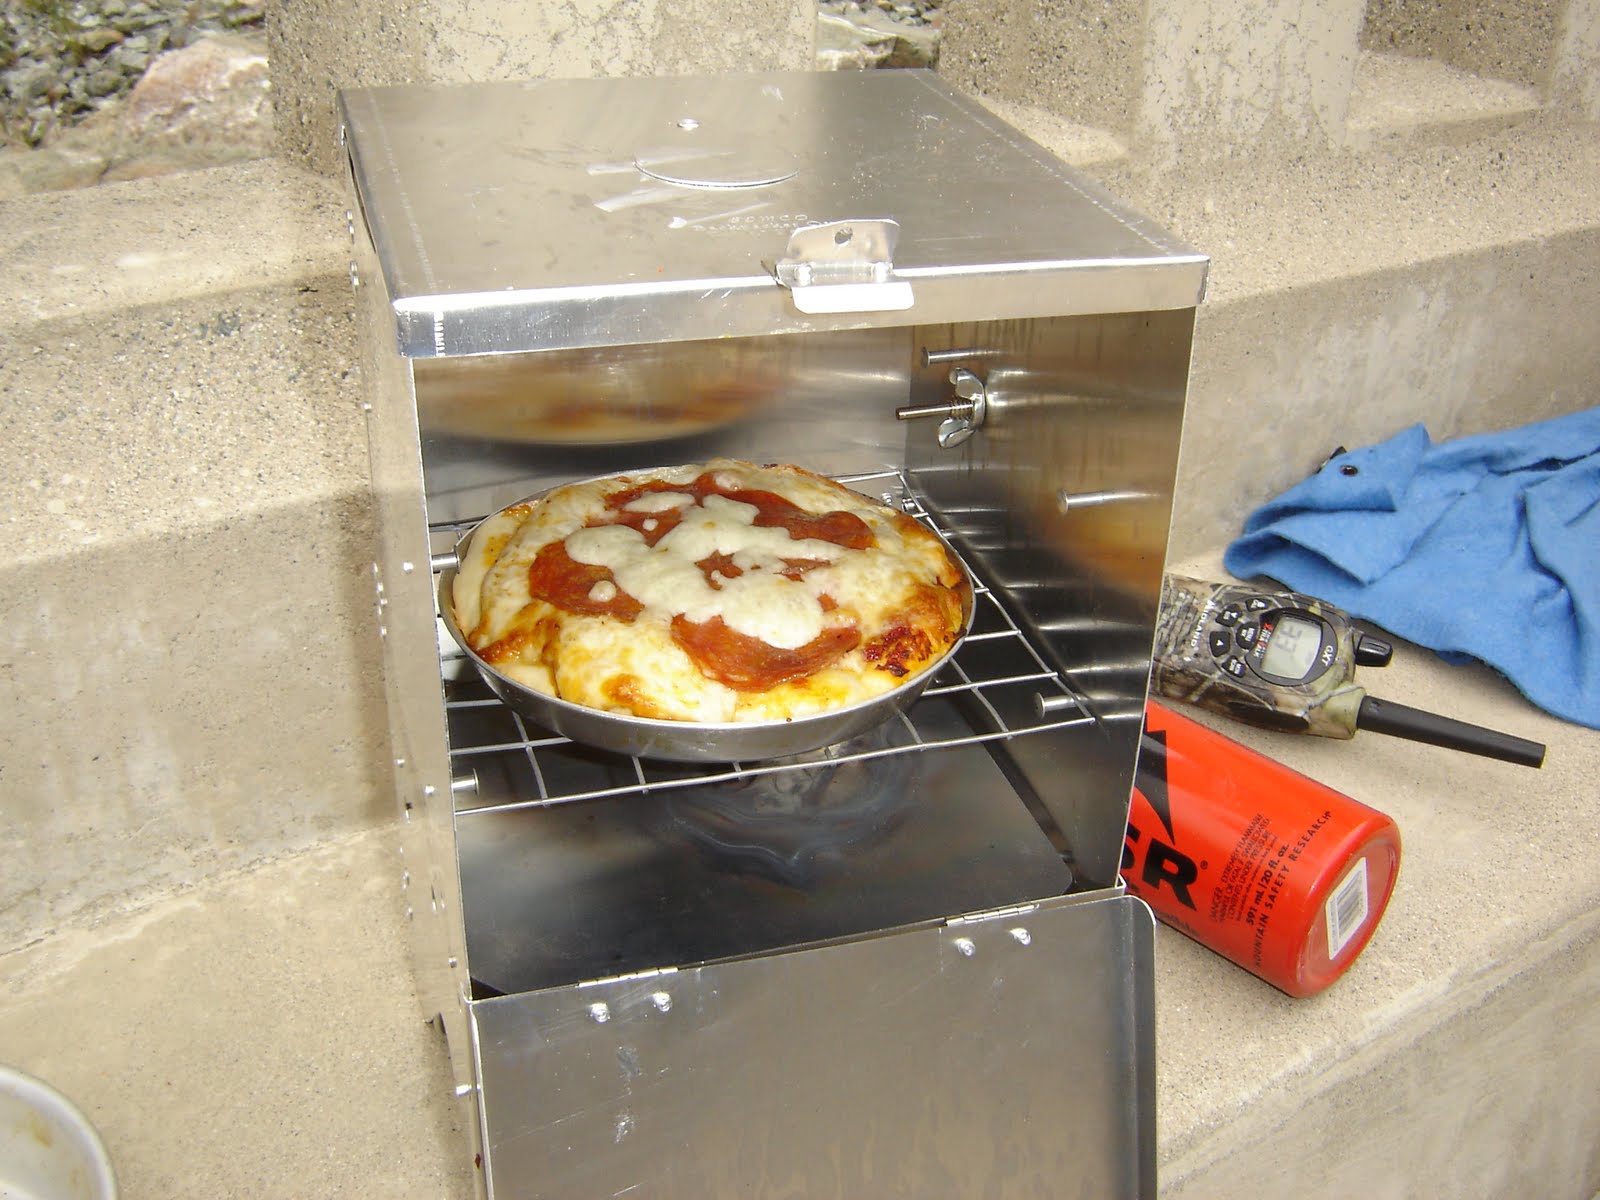 |
| cooking personal pan pizza |
If you're going to purchase the oven I would definitely recommend getting one of the kits which include the gripper as the pans and oven get very hot during use!! Its also helpful to have a bandanna with you to serve as a substitute oven mit.
 |
| a delicious personal pan pizza |
WOW they look totally amazing yum yum!!I liked ur Pizza is very tastey than other Pizza....
ReplyDeletePizza Equipment